Wednesday, December 3, 2014

My Paper Pumpkin November Kit

Hello my friends is been a while I hope you guys are having a very productive day :D I guess I am because I finally catching up with my paper pumpkin , and talking about it, I'm bringing you a  cute video tutorial of this super cute Christmas box that I made out of a card What??? yep I manage to change my super cute card into a treat box for my neighbors here are some pictures


Super cute! so excited and the video tutorial is out too, but is was way very long and my kids where making a lot of noise upstairs so I had to make a fast video this time, sorry, but all the supplies are in your kit but the adhesive is the only thing I add, I hope you give it a try and like what you see Happy Holidays !


Thursday, October 30, 2014

One Stamp Set Deal. Bright & Beautiful episode #4

Hello friends me again with another post about another episode of One Stamp Set Deal using Bright & Beautiful Stamp Set 135029 and this time we are making a Christmas Card.


and of course I have a video tutorial for this super cute project. 


Wednesday, October 29, 2014

My Paper Pumpkin extras, September kit

Sorry for the late update, I thought that I already post this project but I can see I didn't sorry about that, but didn't wanna skip this cute project from my paper pumpkin kit.


I just add a little bit more and for that I made a tutorial video for you :)


hope you like it have a great day or night :D


Wednesday, October 8, 2014

One Stamp Set Deal. TAGS 4 YOU! Episode #3

Hello friends from all the world, here your crafty latina friend from Utah bringing you another episode of One Stamp Set Deal tutorial. I just wanna say that this cute project, is so perfect for the holidays, in my neighborhood we love to make cookies for our next door neighbor, for christmas or halloween and for any different occasion, sometime is hard to do it, but we still find time to bake some cookies to show appreciation, for this may reason this project is perfect for me, I hope will be for you too.

For this episode we are using Tags 4 you or 131823, you can find it online until january 2015, I believe, this stamp set was in last year occasion catalog, but still available until the end of January, I think is a must have together with the super awesome Label Bracket punch 132153. Here are some picture of the project. Hope you like it.


More information about this project:

Tags 4 you stamp set 131823
Real Red ink pad 126949
Blackberry Bliss 133642
Tangelo twist 133646
Mossy Meadow 133645
Memento Tuxedo black 132708
Label Bracket 132153

Box:
Card stock 12x7 score on 12" side 1" on both sides.
on 7" side score 1", 3", 4", 6"

Dividers:
12 x 1 15/16" score at 2, 3, 4, 6, 7, 8, 10, 11"
6 x 1 15/16" score at 2, 3, 4"

Mini tag note card:
any card stock 2 x 4 score 2"
whisper white twine 124262

and here is the video tutorial 


Wednesday, September 24, 2014

What's for Dinner? Cookie Sheet

Hello my friends, today's post is a tutorial of September class, I had so much fun, searching and designing this project using Stampin' Up! products, getting ideas in pinterest, was a lot of fun! My friends really love the project and we spend a great time playing together, here are some pictures of the project and at the end I will show you the video tutorial.


I got the idea in Pinterest from the different ladies, and just pick a little bit of the things I like and made it my own.


What's for Dinner? is a great idea, specially if you like to plan a hole week of dinners, and not wonder every day what's for dinner today? like me.


I love that I have 12 pieces of card stock to write down menu ideas and switch it up every week, of course you can add more if you like.

Now lets get more in detail:

The Pen Holder:


 I used a piece of card stock 2 3/8" x 4 1/4" on the 2 3/8" side I score every 1/2" leaving the last one 3/8" on this one I put some sticky strip 
on the 4 1/4 " score at 1/2" this will be come the bottom of the holder 
the DSP is 3 5/8"x 7/16"

The Menu Pocket:


1 piece of card stock 4 1/4" x 6 1/2"
on 4 1/4 side score at 1/2" and 3 3/4"
on 6 1/2 side score at 3 1/4"

1 piece of DSP 3" x 3"

Magnet Caps: for the days of the week


7 caps
magnet strips
Project Life Day to Day stamp set 135785
memento ink pad 


For the title I just used my cricket to cut the letters on vinyl 


The Shopping List:

I just use a note book, turn it around and decorate it with a flower and in the back I add it a magnet so I can put it back on when I'm done 

To make this flower you are going to need 5 pieces of scallop circle, and your spritzer with water and a mini brad I will show you more in the video how to put it together 


I hope you like this tutorial and don't forget to follow me for more updates 

Happy Stampin' 


Saturday, September 13, 2014

Birthday Money Holders

Hello My friends, this is your crafty latina friend from Utah, bringing you a new tutorial of how to make this super cute Birthday Money holder. My Father in Law has 18 grandkids, 5 of them are mine hahaha, so he decide to give money to his grandkids for their birthdays so I offer to make a cute Birthday Money holder for him to put that money.

Here are some picture of some of the cards I made for him.


and here is the video tutorial :


you will need for the body of the money holder :

Card stock 5 1/2" x 8"

score at 2 3/4" on the 5 1/2" side
acore at 6 1/2" on 8" side 

for the inside :

card stock 2 1/2" x 6 1/4" 

and that is pretty much it I hope you like it !!!

Happy Stamping' Day 


Tuesday, August 26, 2014

One Stamp Set Deal Episode #2 Amazing Birthday

Hello Everyone, I hope you are having a great time with all this rain in the middle of summer, so crazy I love the rain, I just think is so crazy that in the middle of summer in Utah where we suppose to have a really hot summer now we have so much rain, so crazy but anyway, Today I'm bringing you a cute video, episode #2 of One Stamp Deal and this time I'm using Amazing Birthday stamp set you can find it in my 24/7 on my online store just search for Amazing Birthday or use the code 134225.

Here are some pictures for you :D


and here is what I used to make this Amazing Birthday Card

Amazing Birthday stamp set 134225
Decorative Dots texture embossing folder 133520
Hello Honey, Blackberry Bliss and Lost Lagoon ink pads
Blackberry bliss card stock 4 1/4" x 11" score 5 1/2"
Lost Lagoon  card stock 4" x 5 1/4"
Whispery White 4" x 5 1/4"
Crystal Effects 101055
Mini Rhinestone 119246

And here is a video tutorial for you. 


I hope you like it :D


Wednesday, August 20, 2014

My Paper Pumpkin August Kit Extras

Hello everyone I'm so super excited because MPP arrived and today I got some time to play and record a video of this awesome product, but I'm extra excited to announces a new series of videos tutorials where I'm going to give you some ideas to make more of your kit :D so excited!!!

Here is some picture of My Paper Pumpkin August Kit 


With this Kit you will be able to make 4 regular size card with special envelopes, and 4 mini note cards with special envelopes. but the kit will give extra supplies so you can use it for futures projects How cool is that :D

For first time Paper Pumpkin subscribers you are going to receive a welcome card from Paper Pumpkin  


and an Acrylic "D" block so you can use it for your all your project 


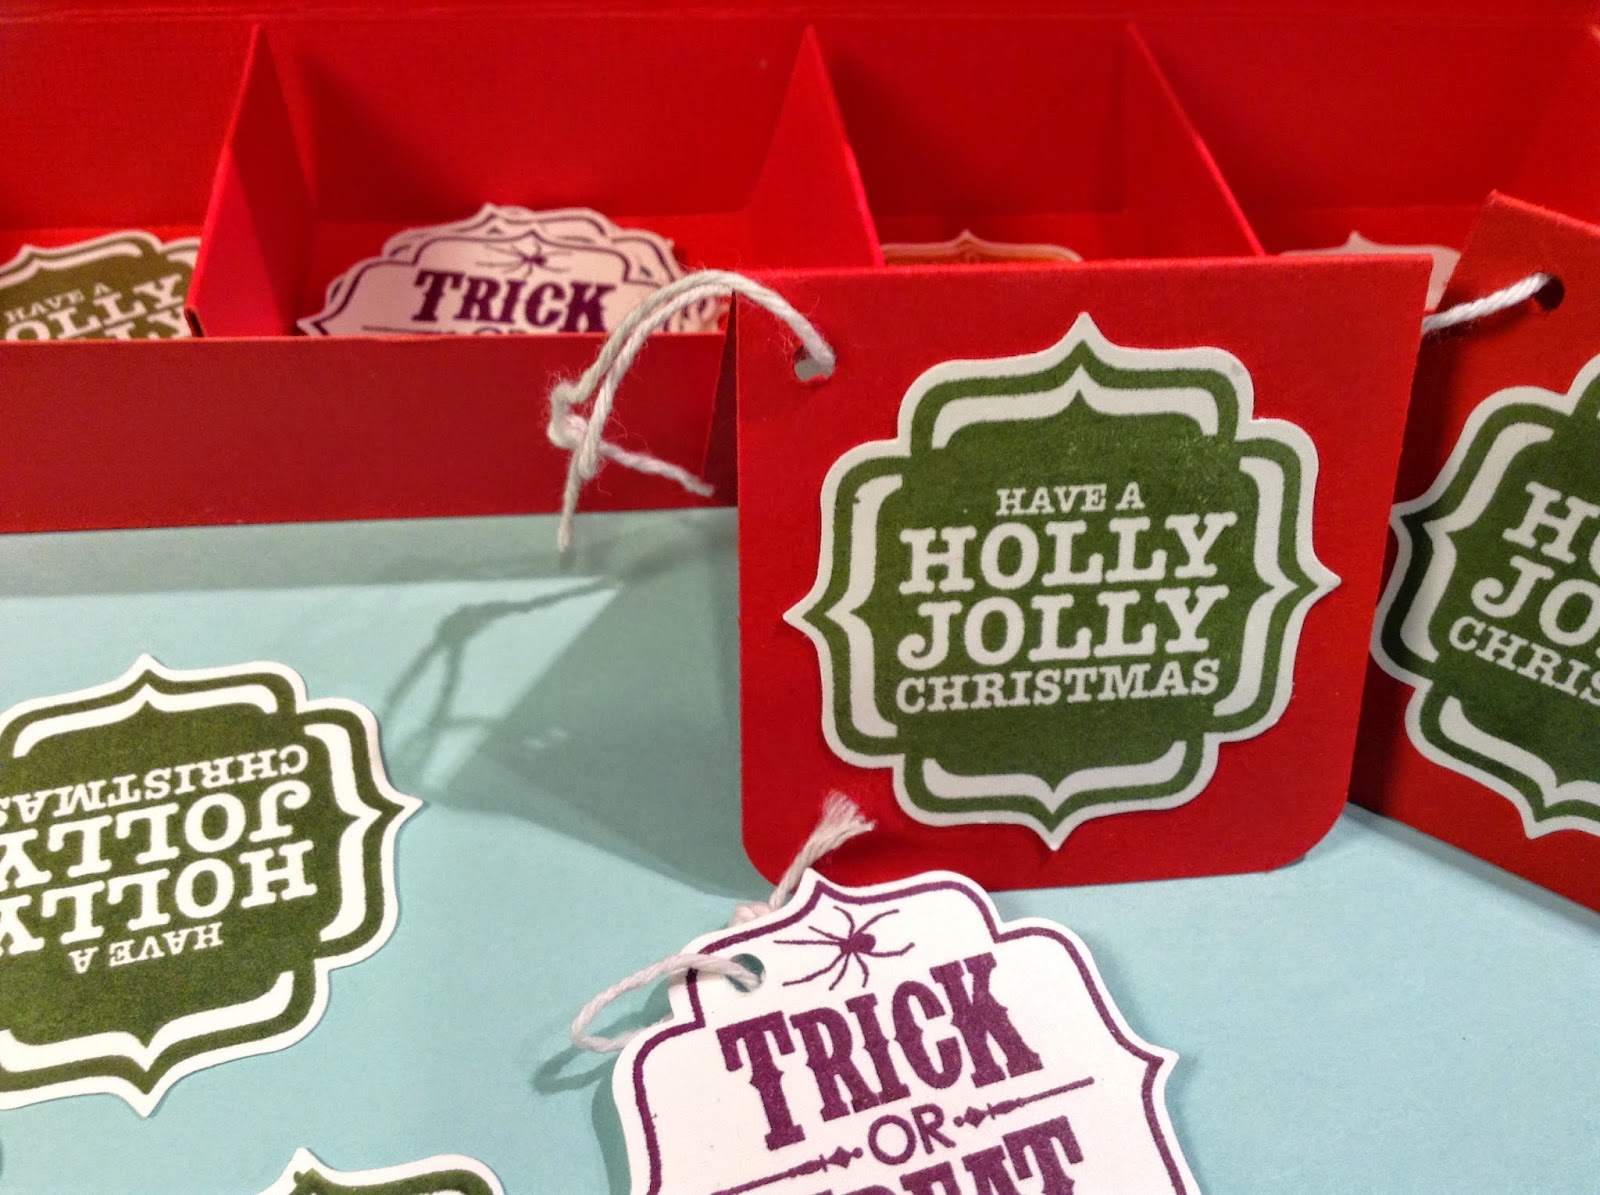
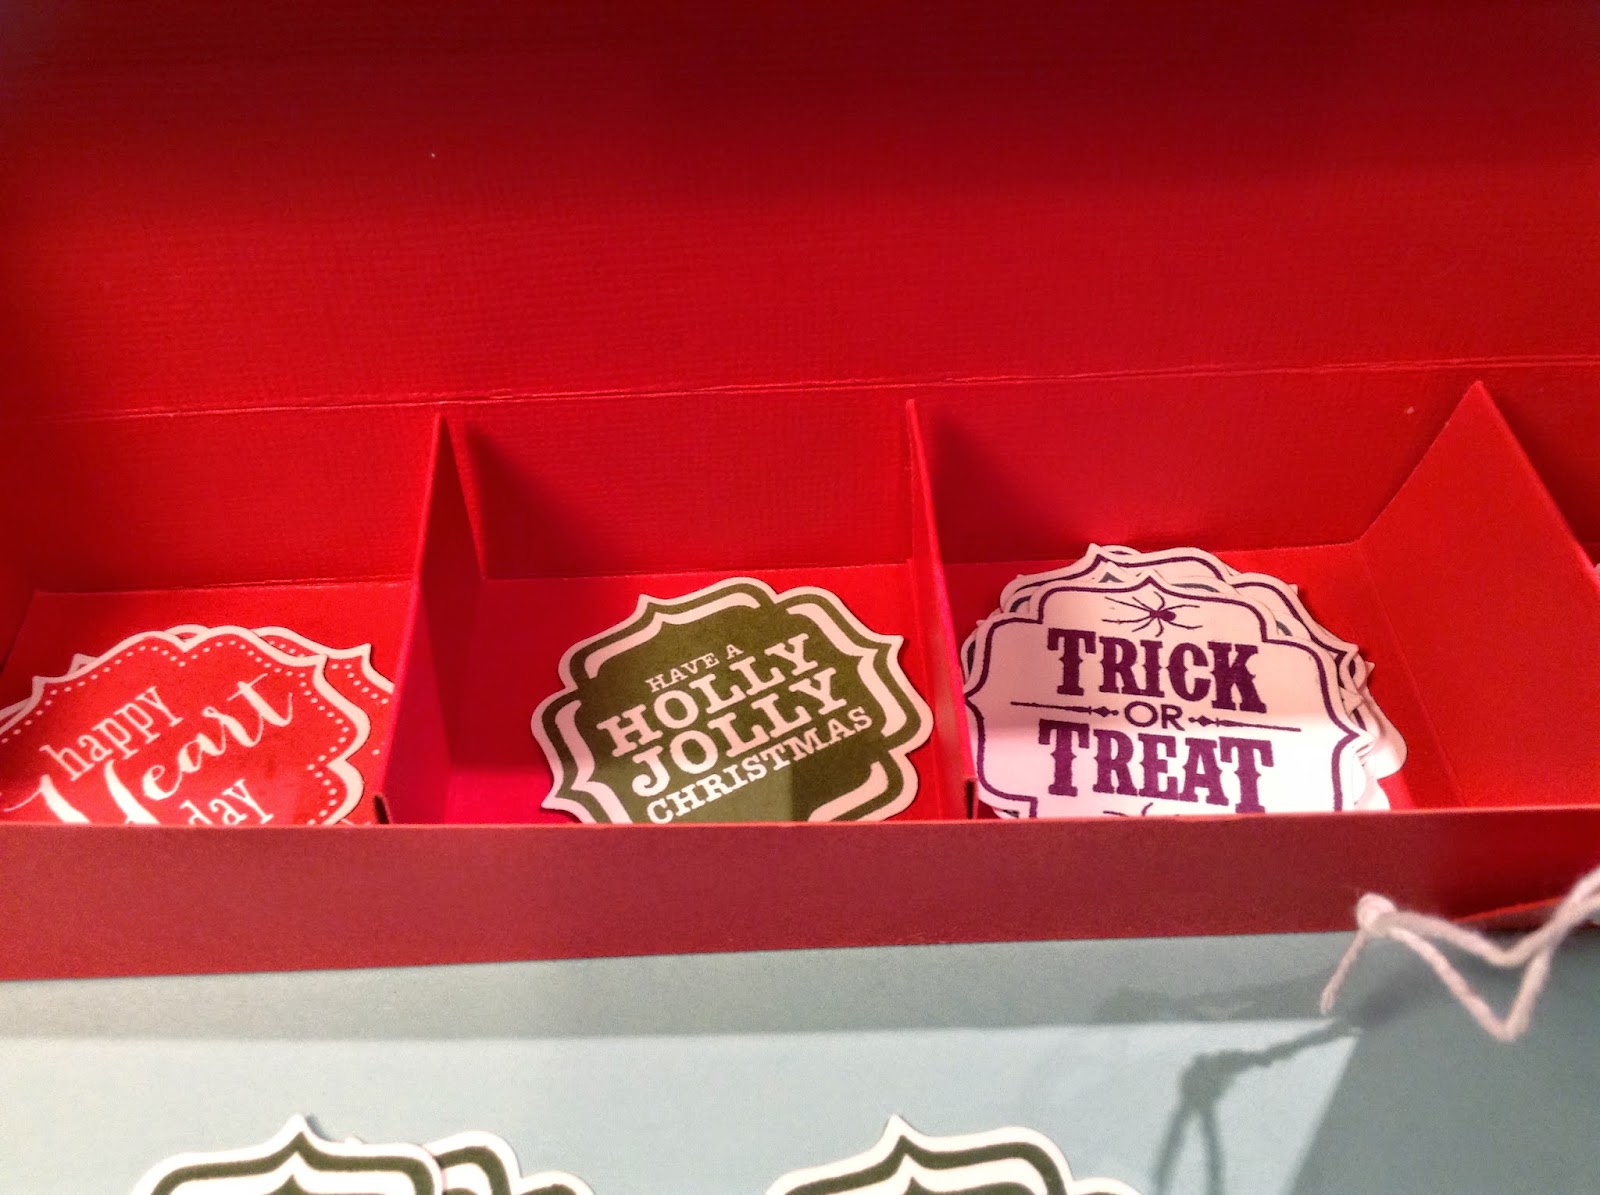
but that is not all, if you subscribe and choose as your demonstrator I will send you a Paper Pumpkin Stamp Collection case to storage all your paper pumpkin stamps :D Yay 


and that is not it, Like I said before I'm going to record videos to help you make more of your paper pumpkin and for my first video I'm going to teach you how to make more of the super cute envelopes 
I hope you like it


here are some pictures and measurements to make different sizes of envelopes:


this one is the one I show you in the video. You are going to need:

Designer Paper 8 1/2" x 10"
on the 8 1/2" side you need to score at 2" and 6"
on the 10" side score at 2" and 8"
and circle #9


Designer Paper 8 1/2" x 9"
on the 8 1/2" side you need to score at 2" and 6"
on the 9" side score at 2" and 7"
and circle #9


Designer Paper 7 1/2" x 8"
on the 7 1/2" side you need to score at 1 3/4" and 5 1/4"
on the 8" side score at 2" and 6"
and circle #8


Designer Paper 4 1/2" x 5"
on the 4 1/2" side you need to score at 1" and 3"
on the 5" side score at 1 1/4" and 3 3/4"
and circle #5

Thanks for stoping by and have a Great Day 
your friend Angie 


Thursday, August 14, 2014

Flower Patch Shaker Card!

Hi there! I hope everybody is having a wonderful day I finally after 3 times I try to edit my last video, finally I got it done, yahoo for me!!! 

I made this video last week and haven't been feeling good lately,  that is why my video or my blog haven't been updated oh well! but this is a new week and never is too late to share ;D

I made this cute shaker card using my brand new Flower Patch and Flower Fair framelits dies, I can tell you I love love this new bundle is so cute and you can make so many things with this set. 

Here are some pictures 


Here is list of things you will need to create this project:

Island Indigo cardstock 4 1/4 x 11" fold at 5 1/2
whispery white card stock 5 1/4 x 4"
Designer paper 5 x 3 3/4"
Window sheet 3 3/4 x 3 3/4"
Flower Patch stamp set
Flower Fair Framelits dies
Circle Collection framelits #6
ink pads: Crushed curry, tangerine tango and island indigo
Shaker Frames
in color sequin assortment 
your big shot and magnetic platform 

here is a video tutorial 


I hope you like it and give it a try 
your crafty friend 
Angie